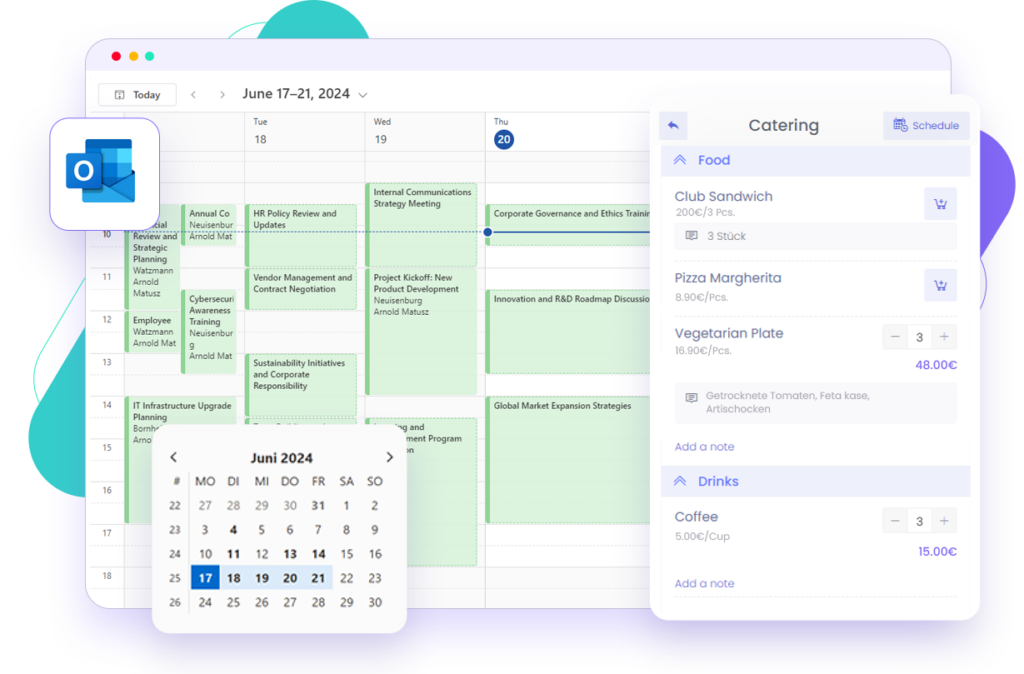
If it’s a meeting, click “Invite Attendees” and add the desired people. Outlook will show you whether the participants are available.
How do I create a meeting in Outlook?
A quick guide to creating appointments in Outlook
To create a meeting in Outlook takes just a few steps
Microsoft Outlook is one of the most widely used tools for scheduling and email communication. Whether for personal appointments, team meetings, or recurring sessions—Outlook offers numerous features to help you organize appointments easily and clearly.
This article provides a step-by-step guide on how to create an appointment in Outlook and explains which features you can use to optimize your scheduling.
In this article, you’ll also learn how to adjust an existing appointment in Outlook, what options are available, and what to consider when working with recurring appointments.
Create a new appointment in Outlook
To create a new appointment in Outlook, follow these steps:
Open Outlook and switch to the calendar view.
Click on “New Appointment” in the top menu bar or press Ctrl + N while in the calendar.
A new window will open where you can enter the appointment details.
2. Define important details for the appointment
Enter subject and location
Type a clear title for the appointment in the “Subject” field, such as “Team Meeting” or “Project Discussion.”
In the “Location” field, specify where the meeting will take place—either a physical room or an online platform like Microsoft Teams.
Set date and time
Define the start and end date and time. If the appointment lasts all day, you can activate the “All day event” option.
Invite participants (optional)
3. Advanced options for appointments in Outlook
Set up recurring appointments
If the appointment occurs regularly, click on “Recurrence” and choose whether it should repeat daily, weekly, monthly, or at another interval.
Set reminders
Outlook allows you to set reminders for appointments. By default, a reminder is set 15 minutes before the event, but you can adjust this time as needed.
Add notes and attachments
In the lower section of the appointment window, you can add additional information or an agenda. You can also attach files or documents.
Set up online meetings with Microsoft Teams or Zoom
If the meeting will take place online, click “Teams Meeting” or “Add Zoom Meeting” to automatically generate a virtual meeting link.
4. Save and send the appointment
Once all details are set, click “Save & Close” if it’s a personal appointment.
If you have invited participants, click “Send” to distribute the invitations. Participants will receive an email with the option to accept or decline the appointment.
Creating an appointment in Outlook is quick and easy. Thanks to additional features like reminders, recurring events, and online meeting integration, scheduling can be perfectly tailored to your needs.
With these steps, you can always keep track of your appointments and ensure meetings run smoothly.
arboo – Your Microsoft 365 specialist for smart appointment and room bookings
Outlook provides a solid foundation for scheduling, but when it comes to managing meeting rooms, services, or additional resources, many organizations reach their limits. As a Microsoft 365 specialist, arboo develops powerful solutions like arbooMEET, seamlessly integrated into Outlook. This allows not only for organizing meetings, but also booking rooms, ordering catering, or requesting technical support—all in a single booking process.
Want to learn more about smart scheduling and room management in Microsoft 365? Contact us for a live demo of arbooMEET and discover how simple meeting organization can be!

Related Content
Meeting Room Booking as It Should Be, Straight from Microsoft Outlook


